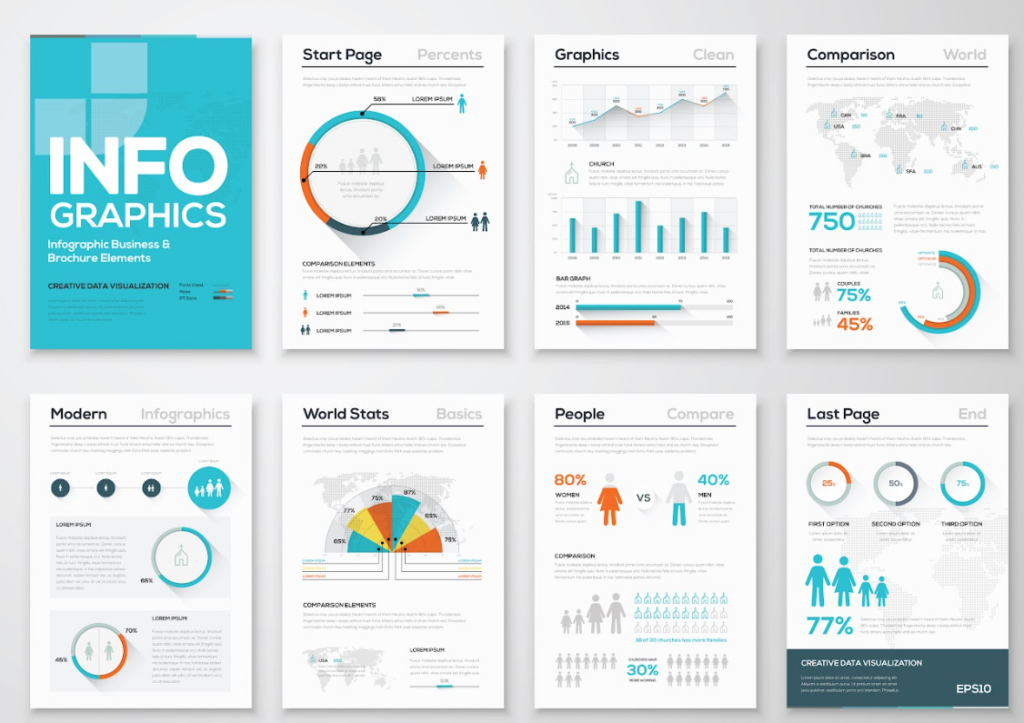
Creating dynamic infographics is all about merging visual appeal with clear and concise data presentation. One of the most powerful tools at your disposal in this creative process is the background remover, which can dramatically enhance the visual clarity and impact of your infographics.

What is a Background Remover?
A background remover is a digital tool or software feature designed to automatically detect and eliminate the background from an image, isolating the main subject. This tool is particularly useful in graphic design and photo editing, where clarity and focus on the primary subject are essential.
Background removers use algorithms to analyze an image and distinguish between the foreground (the subject you want to keep) and the background (everything you want to remove). These tools typically operate with advanced machine learning techniques that improve accuracy and efficiency with each use.
Background removers reduce the time and effort needed to manually edit out backgrounds using traditional methods like clipping paths or manual pixel selection. They offer high precision in isolating subjects, which is particularly useful in complex images where the foreground and background colors or textures are similar. Moreover, they work on a wide range of images, from simple portraits to more detailed and dynamic scenes.
How to Create Dynamic Infographics with Background Remover
This guide will walk you through the steps to effectively use a background remover to create stunning and informative infographics.
1. Select Relevant Data
The first step in creating a dynamic infographic is to choose the data that will best convey your message. Focus on key statistics and facts that are relevant to your audience and can be easily visualized. Organizing your data in a logical and engaging manner is crucial, as this forms the backbone of your infographic.
2. Design the Infographic
Before you can utilize a background remover, you need a draft design of your infographic. Opt for graphic design software that supports vector graphics and layers. Draft a clear layout that accommodates your data points. Utilize grids and alignment tools to ensure everything is balanced and visually appealing for creative branding.
3. Utilize a Background Remover
Background removers are invaluable for cleaning up noisy or irrelevant backgrounds in images that can distract from your message. If your infographic includes photos, using a background remover can help highlight these elements without the clutter of their original settings.
Use tools to remove backgrounds. These tools can clean up an image background in as little as five seconds with just a click, saving you hours that might otherwise be spent manually editing pixels.
4. Integrate Text and Visual Elements
With your images ready, integrate text and other design elements like your brand logo. Choose clear, readable fonts. Sans-serif fonts are generally a good choice for digital platforms. Keep your visual style consistent. Choose a color scheme and stick with it across the infographic to maintain a cohesive look.
5. Revise and Optimize
Once your infographic is assembled, it’s time to refine and optimize. Check for any typos or misalignments in your infographic. It can be helpful to get feedback from others before finalizing. Ensure that your infographic is accessible, including alternative text for images and ensuring sufficient contrast for readability.
6. Publish and Engage
Finally, prepare your infographic for publication. Different platforms may require different image formats or dimensions. Make sure your infographic looks good on all platforms where it will be published. After publishing, interact with your audience to gauge the impact of your infographic and collect feedback for future projects.

How to Choose Background Remover
Here are some key factors to consider when selecting a background remover:
- Accuracy and Quality
The most important aspect is how well the tool removes backgrounds without affecting the main subject. Look for a tool that can handle complex edges and varying contrasts and that preserves the quality of the original image.
- Ease of Use
Opt for a tool that is user-friendly, especially if you are not an expert in graphic design. The interface should be intuitive and straightforward, allowing you to remove backgrounds quickly and efficiently.
- Speed
Consider how fast the tool processes images. If you need to handle bulk image processing, a tool that works quickly and efficiently will save you a lot of time.
- Features
Some tools offer additional features like the ability to add a new background, refine edges, and adjust colors. Depending on your needs, these features might be very useful.
- Compatibility
Ensure the tool is compatible with your operating system and integrates well with other software you use. This is crucial if you need to incorporate the tool into a larger workflow.
- Pricing
Background remover tools range from free to premium. Determine your budget and consider whether a subscription model or a one-time purchase fits better with your financial plans.
- Reviews and Recommendations
Check out reviews and ratings from other users to gauge the effectiveness and reliability of the tool. Professional recommendations or case studies can also provide insights into how the tool performs under different scenarios.
- Trial Versions
If possible, use a trial version of the tool to test its capabilities and ensure it meets your needs before making a purchase.
By considering these factors, you can select a background remover tool that best fits your requirements, ensuring high-quality results with minimal effort.
Conclusion
Using a background remover in your infographic design process is a game-changer that not only enhances the aesthetic value but also ensures the focus is squarely on your data. The right tools can turn a complicated process into a simple click, allowing you more time to perfect the content and style of your infographics. Dive into creating your next infographic with these tips and watch your audience engagement soar!


