
30. A Normal Bedroom
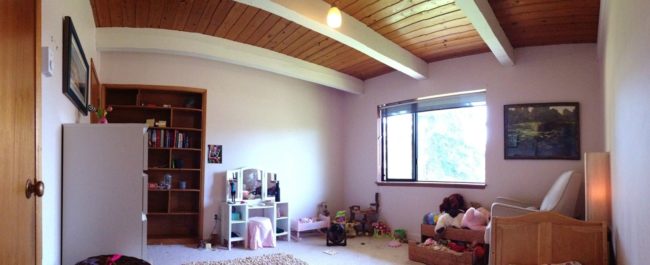
Imagine this: a father is approached by his daughter with the request to transform her room into a fairy forest. Possible? Not without a lot of hard work; however, this special girl had a dad who was ready to rise to the challenge. The transformation of this bedroom was a serious undertaking, but when you see the final results you will be completely blown away.
29. A Father’s Intricate Plan
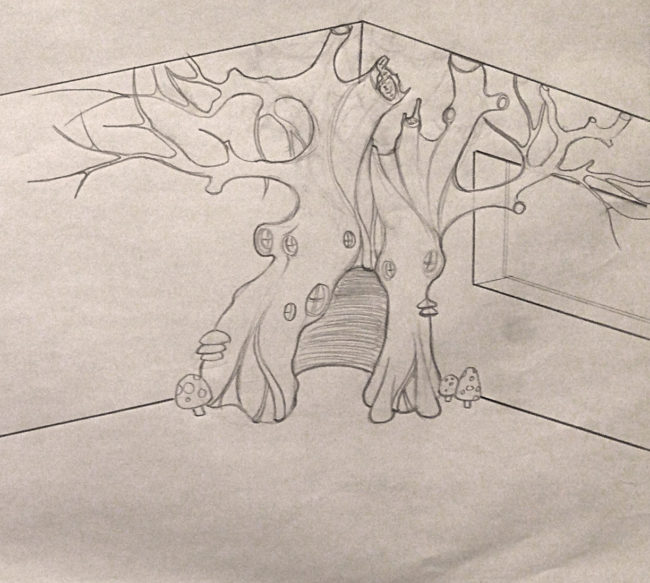
Before construction even began, the future “Father of the Year” sketched out the main focus of the room, which would be a tree that would also sub as a home for the fairies. In the base of the trunk would be a small reading nook where his daughter could escape and dream up adventures of her own!
28. The Scaled Model
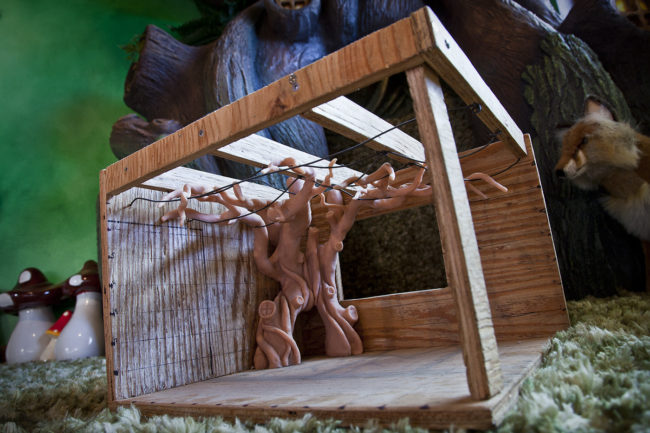
After the sketch was finalized, it was brought to life by a 3-D model. The father wanted to make sure that every aspect of the room was thought out so when he made it to scale, there wouldn’t be any surprises during the building process. We have to admit we’re quite impressed with all the time and care that dad put into this.
27. Prepping the Floor
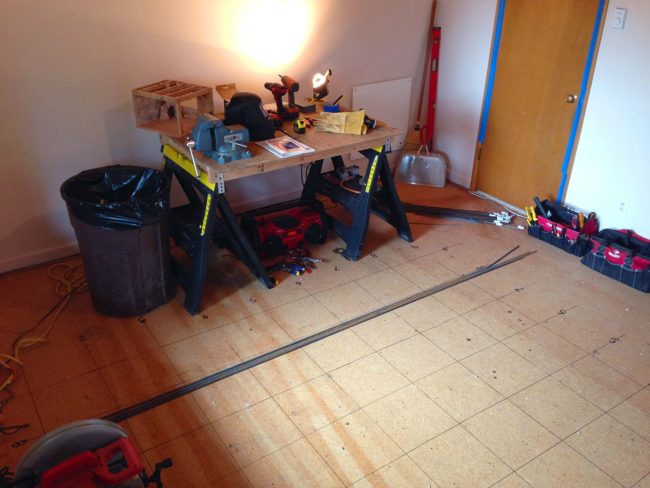
The next step would involve dividing the room into square “sectors” to make it easier to build in. Each square would represent a piece of the overall room design, making it easier to keep track of what needed to be done and assist with spacing.
26. Tools are Locked and Loaded
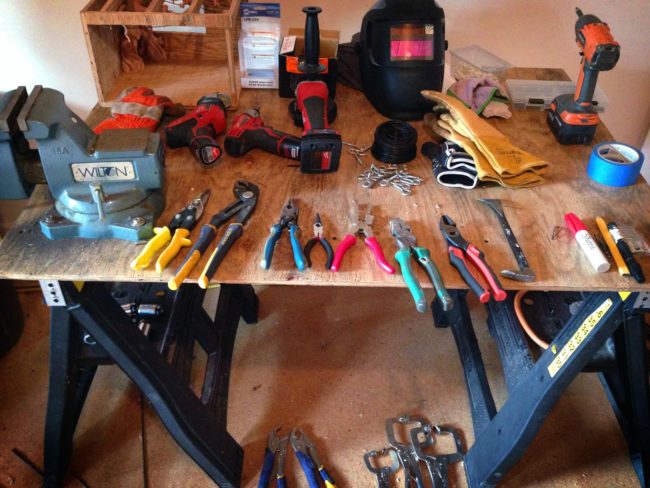
Next, it was time to arrange all of the necessary tools. The last thing you want is to end up in the midst of a major room makeover and discover you’re missing a critical piece of equipment. Thankfully, dad is already one step ahead of the game!
25. Sketching Out the Space
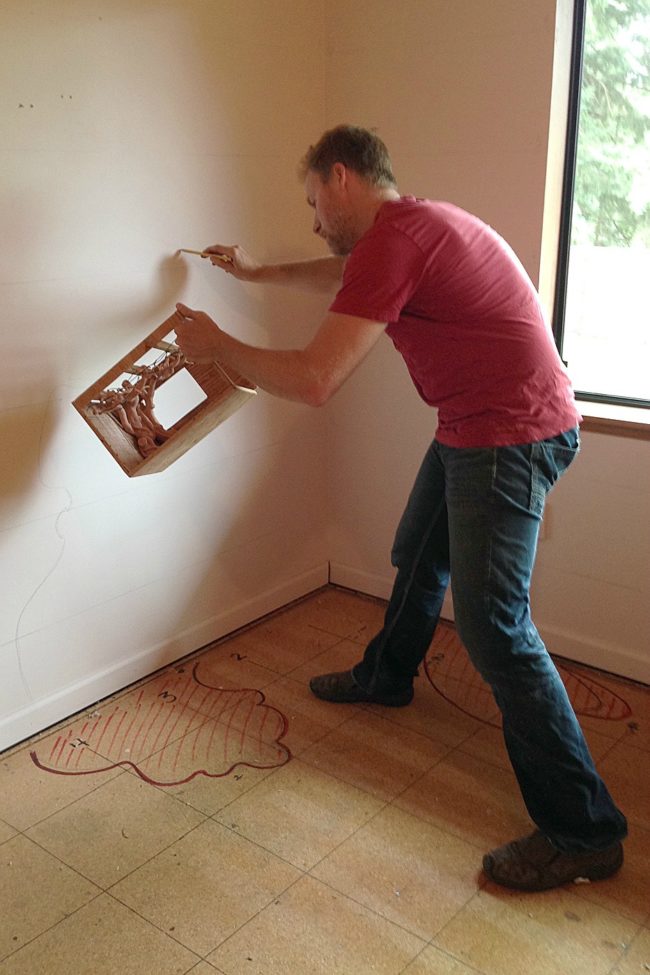
Using the 3-D model as a guide, it was time to sketch out the measurements and specs in full size. This is going to be one happy little girl when this is all said and done. Honestly, we’d like to adopt this dad just so we can have a fairy tree of our own. Yes, we’re green with envy over here!
24. Measurements Are in Place
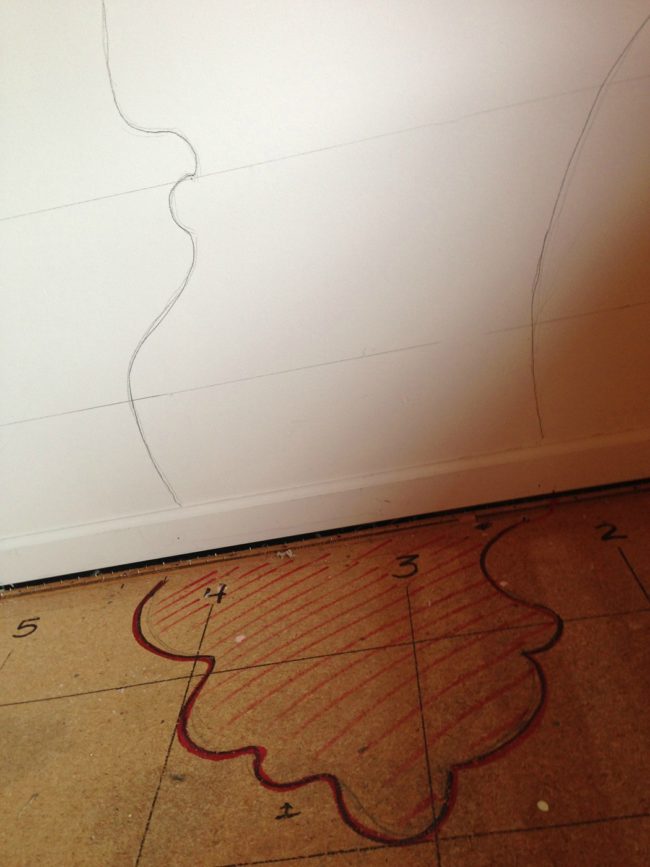
As you can see, the base and trunk outlines are complete. While it may not look like much now, you just wait! This is going to be one amazing tree when it’s all said and done. Honestly, we’re breathless with anticipation over here!
23. Building the Base
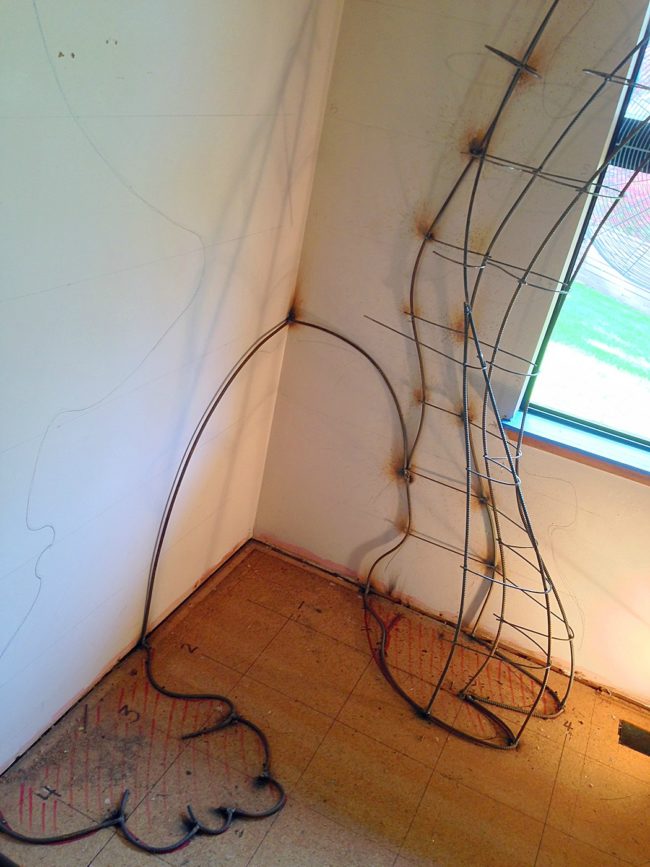
Using the markings as a guide, it was time to begin to mold the wire frame. The father had to ensure that the tree was not only stunning, but sturdy, the last thing you want is all your hard work to fall apart.
22. Wires Galore
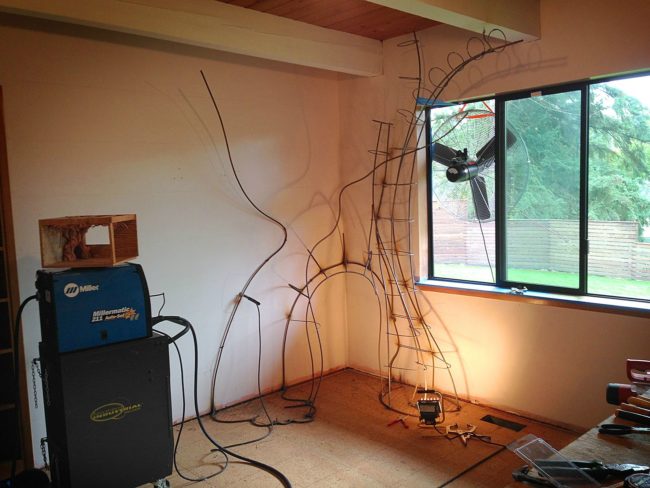
As you can see, the tree skeleton is finally starting to take shape. Well, sort of…we promise this is going to look like a tree in the end. Right now, it kind of looks like a dinosaur with two-legs and scoliosis!
21. Things Are Taking Shape
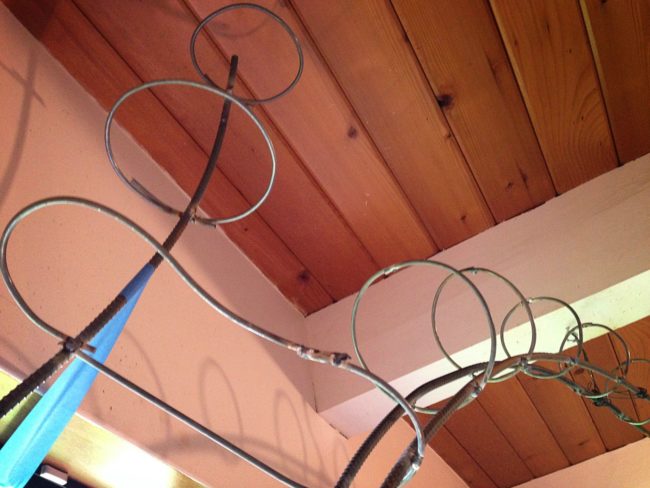
Steel rings were used to give the branches their shape. This would also provide a strong foundation for the plaster and concrete that would have to be applied later. This is one determined dad we have to admit.
20. Working Hard
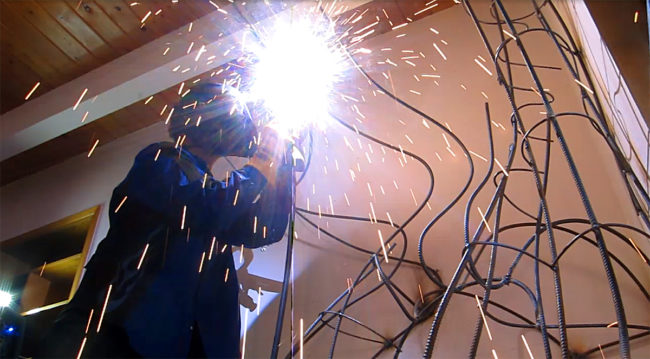
Time to pull out the real hardware! You may not know this, but bending steel rings and wire into shape can take some serious effort. Thankfully, dad is packing some serious heat…literally! Honestly, we’d most likely take off an eyebrow with that thing.
19. The Frame is Complete!
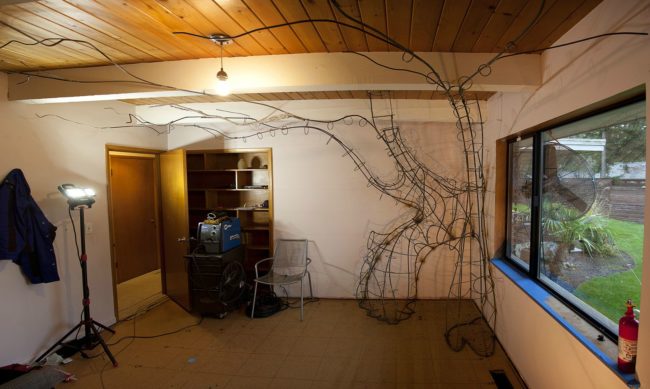
Now that is really starting to look like a tree! With the base complete, it was time to move on to the next stage, which would give the tree more shape. We’re so excited we’ve picked up a National Geographic just to look at forest pics.
18. Chicken Wire to the Rescue
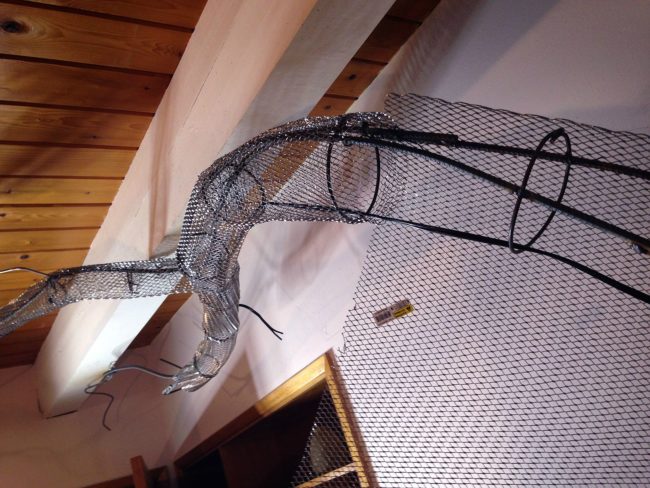
Chicken wire was used to provide a base for the paper machete and concrete. It also assisted in giving the tree more shape. Honestly, this father has some serious welding and design skills. Maybe he was an architect in a past life?
17. Ambient Lighting
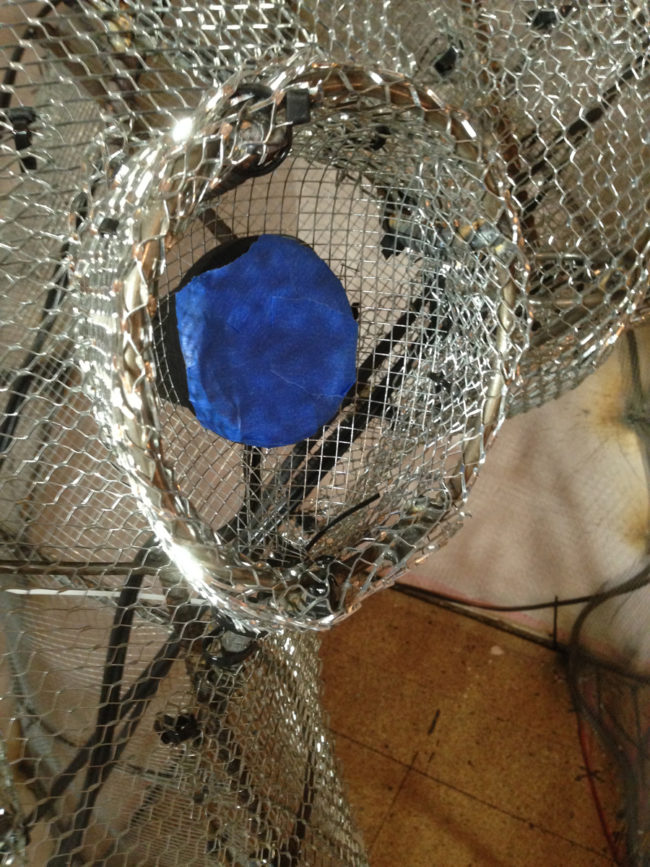
Because no fairy tree is complete without ambient lighting, the next step was to add colored lights that would eventually shine through the windows. Yes, WINDOWS! We told you this room was going to blow you away and we weren’t kidding!
16. Don’t Rush Perfection
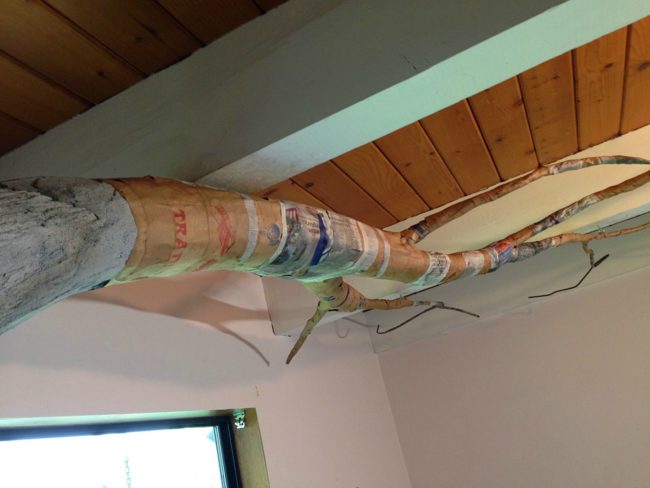
It’s paper machete time! The next step involved applying paper machete to the trunk and branches in order to strengthen the tree’s framework. As you can see this is starting to look more and more like an actual tree.
15. Adding Concrete
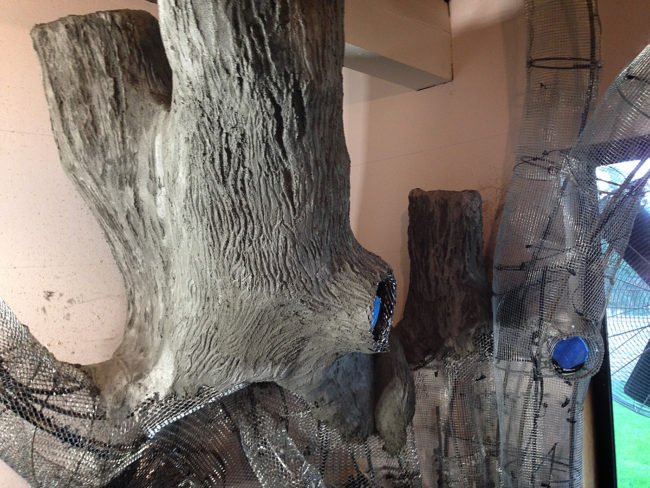
After studying dozens of images of trees, concrete was applied and sculpted to look like bark. We’re pretty impressed with how lifelike it looks. We’re sure this was quite the time consuming task.
14. Time to Paint!
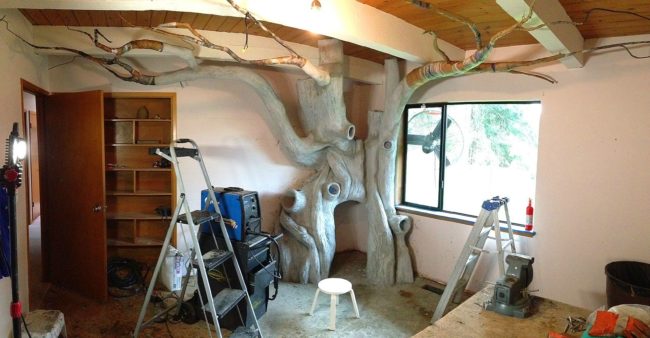
The tree is definitely starting to take shape. With the concrete dry, the next step would be to paint the tree. Honestly, we’d totally be fine the way it is now. It looks like something out of a petrified forest.
13. Are You Sure That’s Not Real?
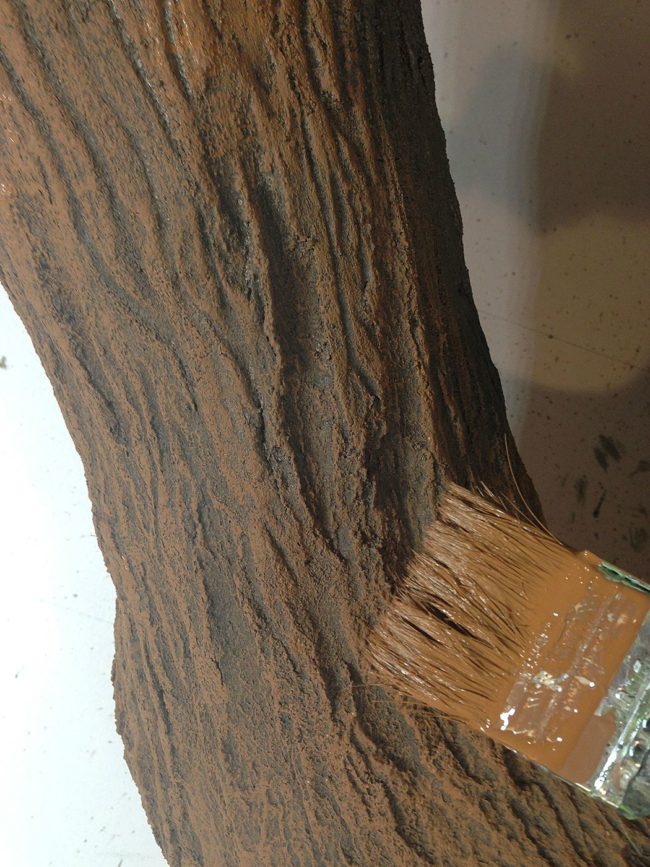
Dad took great care in painting the bark of the tree. After studying and reviewing photo after photo, he wanted to be sure that the bark looked realistic. There would be no expense spared when it came to his daughter’s happiness!
12. Amazing Attention to Detail
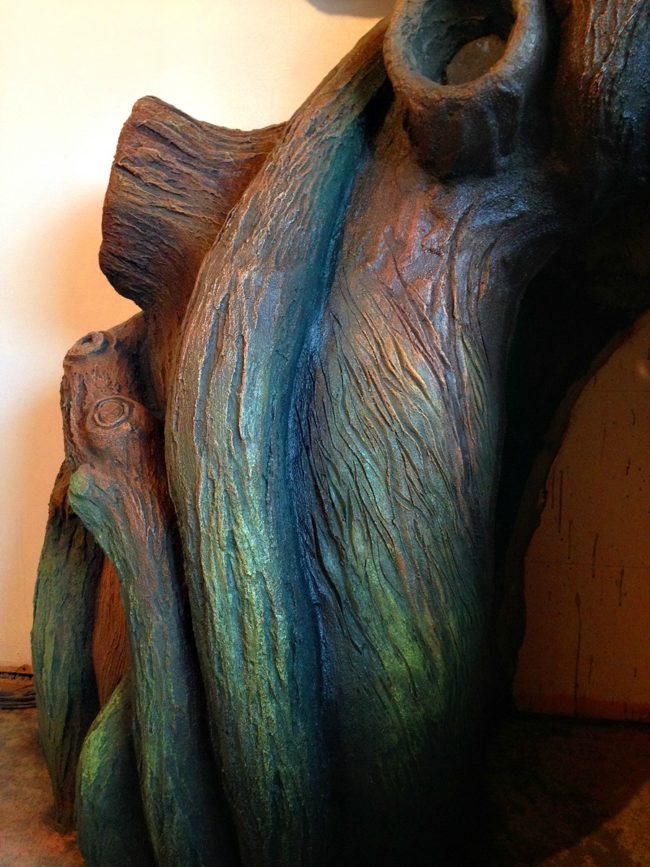
This work is simply stunning. The way the green moss meshes with the dark browns of the tree trunk are absolutely harmonious. We really want one…today!
10. Sturdy Trunk
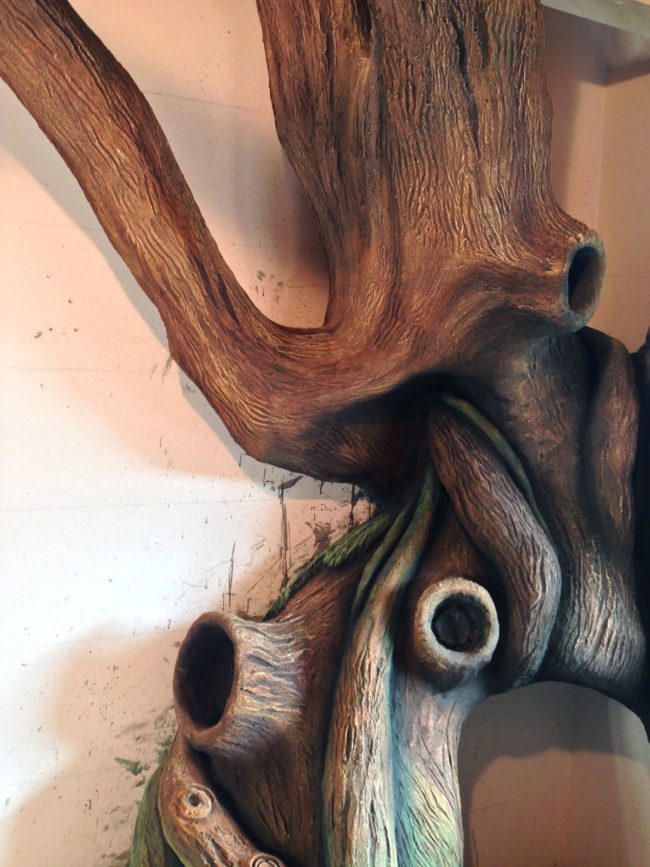
Here’s another shot of the trunk, which currently has holes where the windows will go. Someone grab a moving truck, stat! We’re moving in and won’t take no for an answer!
9. Time for a Coat of Paint

Of course, the rest of the room had to be painted as well. What’s a fairy tree without environmental ambiance? Of course, dad was up for the challenge and immediately went to work transforming the rest of the room.
8. An Amazing Work- in- Progress
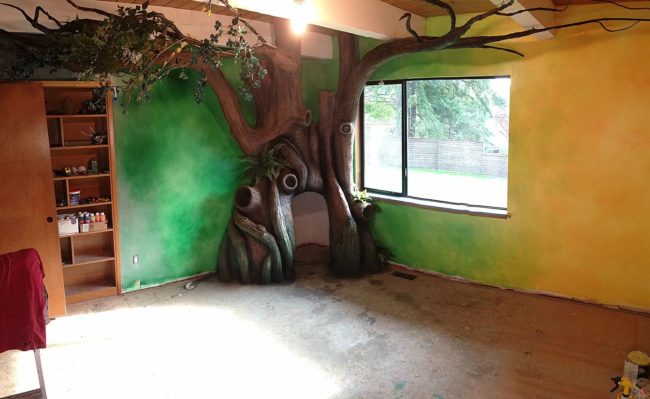
The room is finally coming together. The colors on the walls are simply breathtaking. We adore the sponge painting effect he’s used on the walls. It really adds some “magic” don’t you think?
7. Wood Floor Time
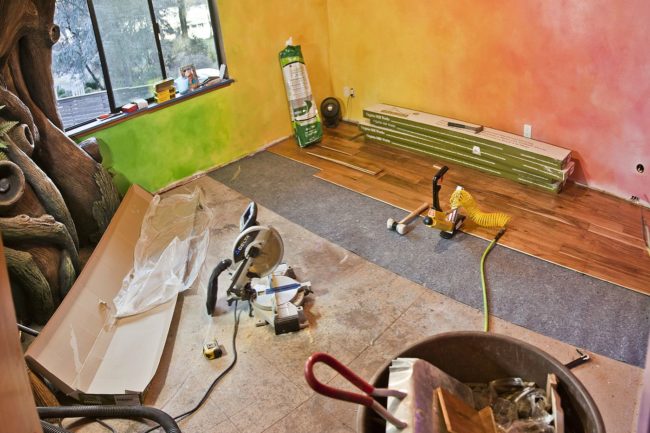
The next step would be adding wood floors. The planks were positioned with great care to ensure they were even and would fit the space. We’re ready to get rid of our carpet next, so we’d like one fairy tree with a side of wood flooring, please and thank you.
6. Time for Some Grass
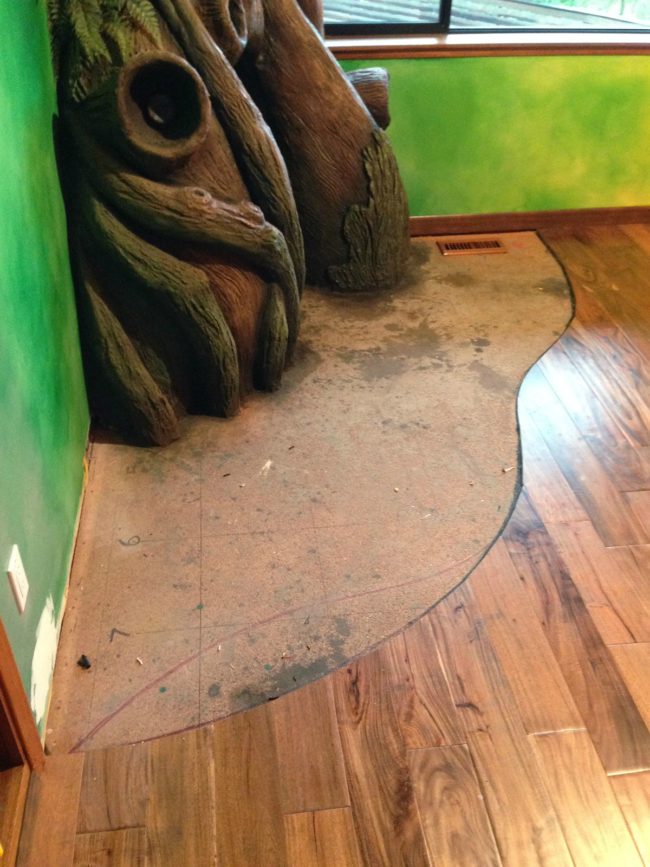
No fairy tree is complete without a grassy knoll! Thankfully, dad was prepared and left space for one. The commitment to the authenticity and details of this room are simply astounding. We can’t believe this is actually real.
5. The Coolest Door knobs EVER

Glowing door knobs? Count us in! This is literally the coolest thing we’ve ever seen and it certainly adds to the fantasy flair of the room. Can we have one for every door in the house?
4. Time for Windows
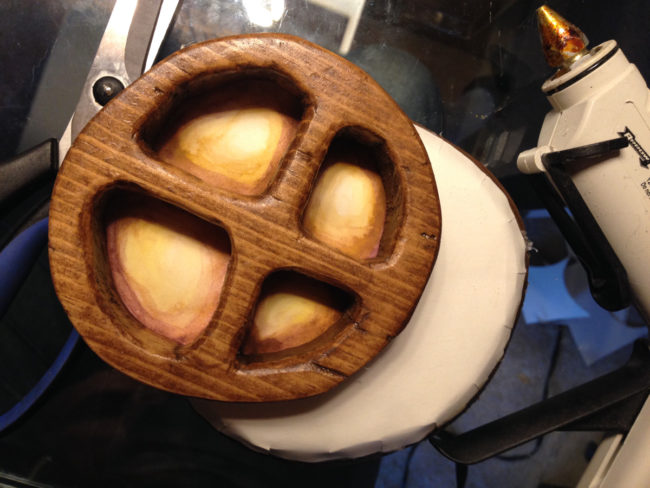
A fairy tree wouldn’t be complete without some windows now would it? We absolutely adore the fantasy elements the father incorporated into the design. It’s definitely like looking at a portal to another world.
3. Time for the Decor
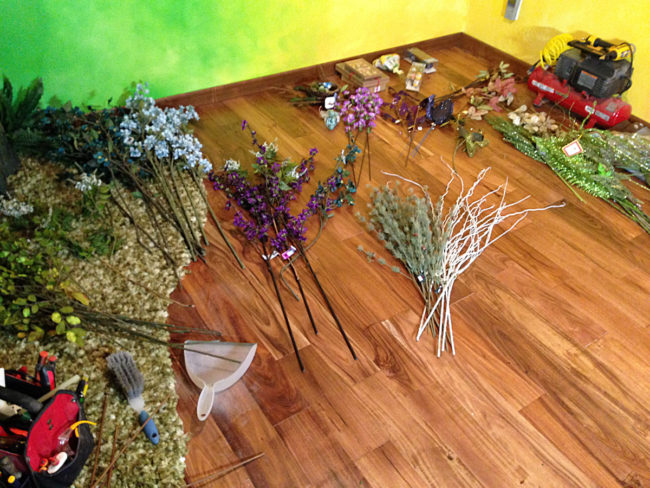
Now that the building was out of the way, the time for decorating was at hand! And let’s just say daddy didn’t skimp on the foliage. We can’t wait to see what the final results look like! The anticipation is killing us…no really someone just passed out!
2. The Finished Product
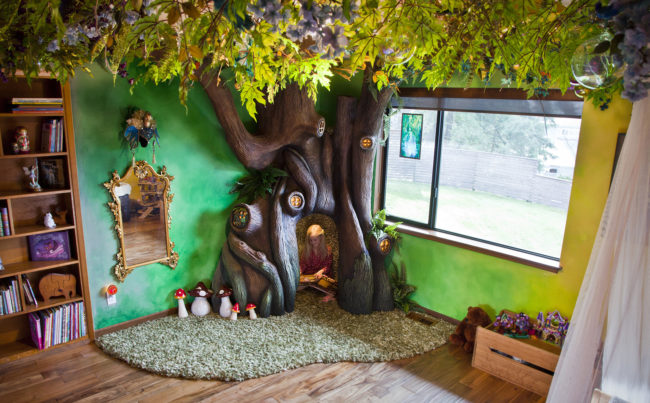
Definitely worth the wait, right? We can’t get over how intricate and detailed this tree turned out. The perfect space to get away and read, this is one lucky little girl. Can we adopt the dad for a week? We really need to start construction on our very own fairy bedroom ASAP.
1. Sweet Dreams
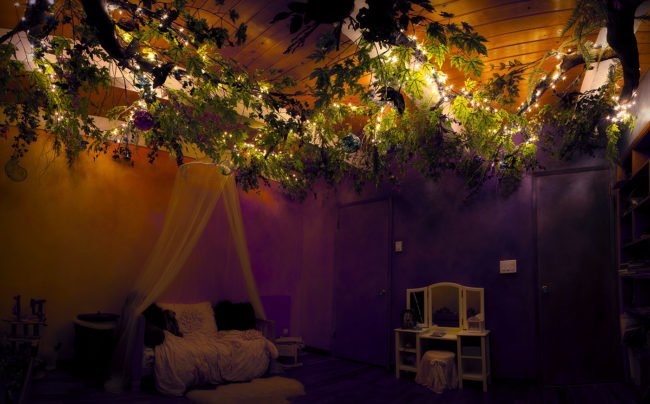
Can you imagine sleeping underneath that magical canopy? We’re just gushing over here with how incredible this turned out. From the twinkle lights, to the magical bed, we’re sure this young lady is one grateful daughter. This guy should really go into business for himself!


